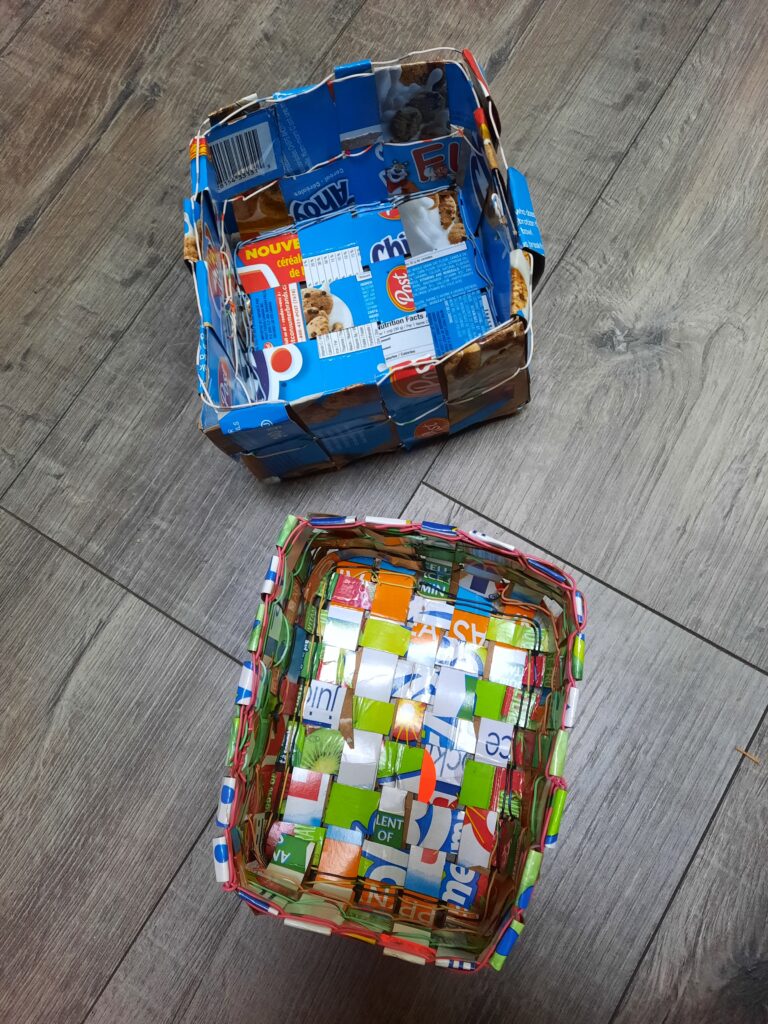
Weavers have always used materials from their environment to make a basket. Cardboard boxes like cereal boxes are the result of a lot of tweaking to make an object that people want to look at, even cutting the box into strips does not detract from this effect. Sort of the same idea as a patchwork quilt. Beautiful fabric, even when cut into a 2 inch square for example, makes a beautiful quilt. For this project you will be using a centuries old basketry technique.
This is a fun project for artists of any ages. It can make a thoughtful gift. You will need a ruler, pencil, scissors, a few boxes, scotch tape and some flexible material like telephone wire.
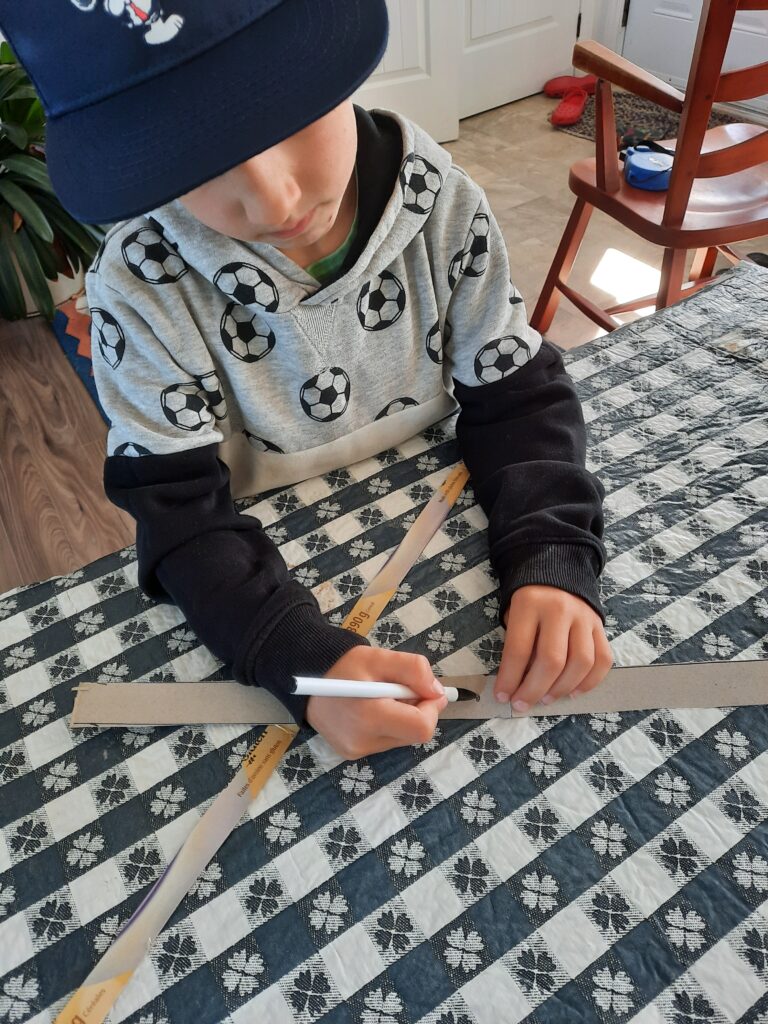
First step, carefully open up the box, trying to maintain the potential for some very long pieces. With the ruler delineate long strips, they do not have to be all the same thickness. Mark the centre of each strip. Then cut along the pencil lines
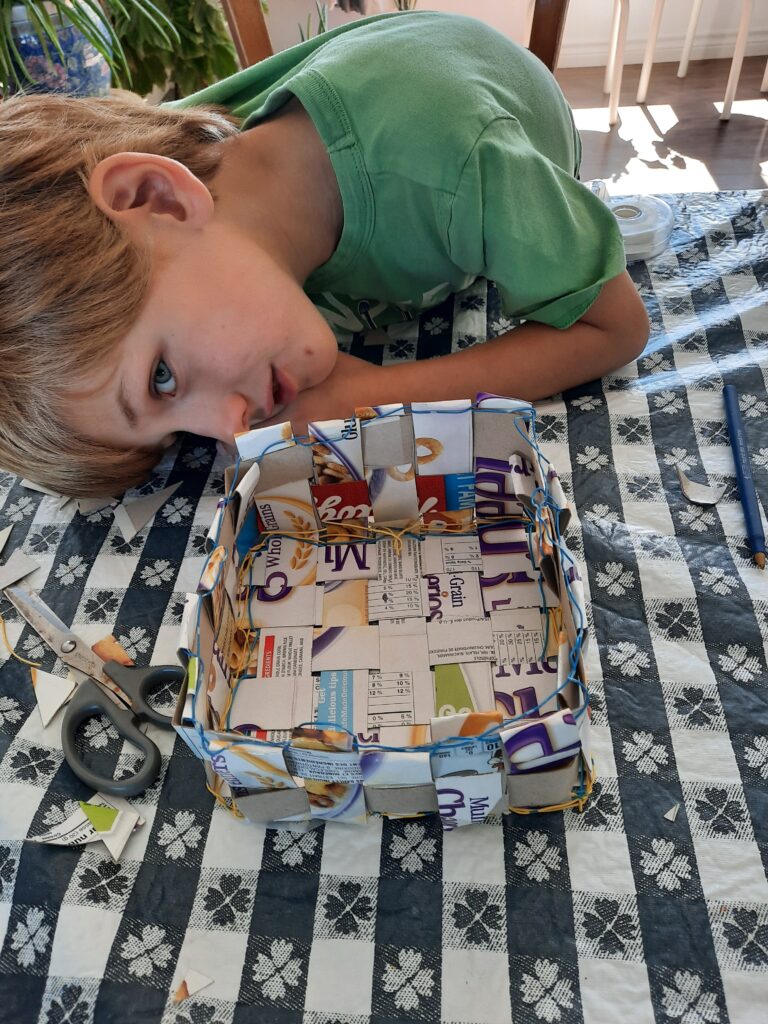
Weave the base with the longest strips. Then its time to decide, do you want the fancy side to be along the inside bottom? Half fancy, half grey cardboard? The centre markings help you to weave an even square or rectangle in the middle of the strips. remember, alternate rows of over and under.
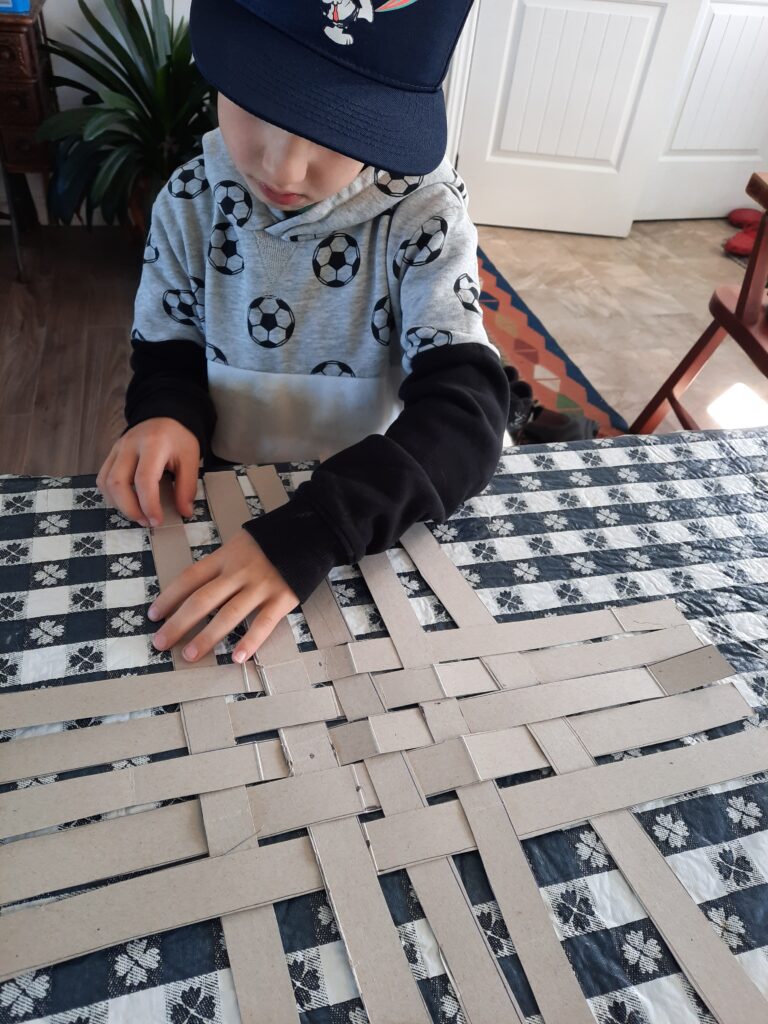
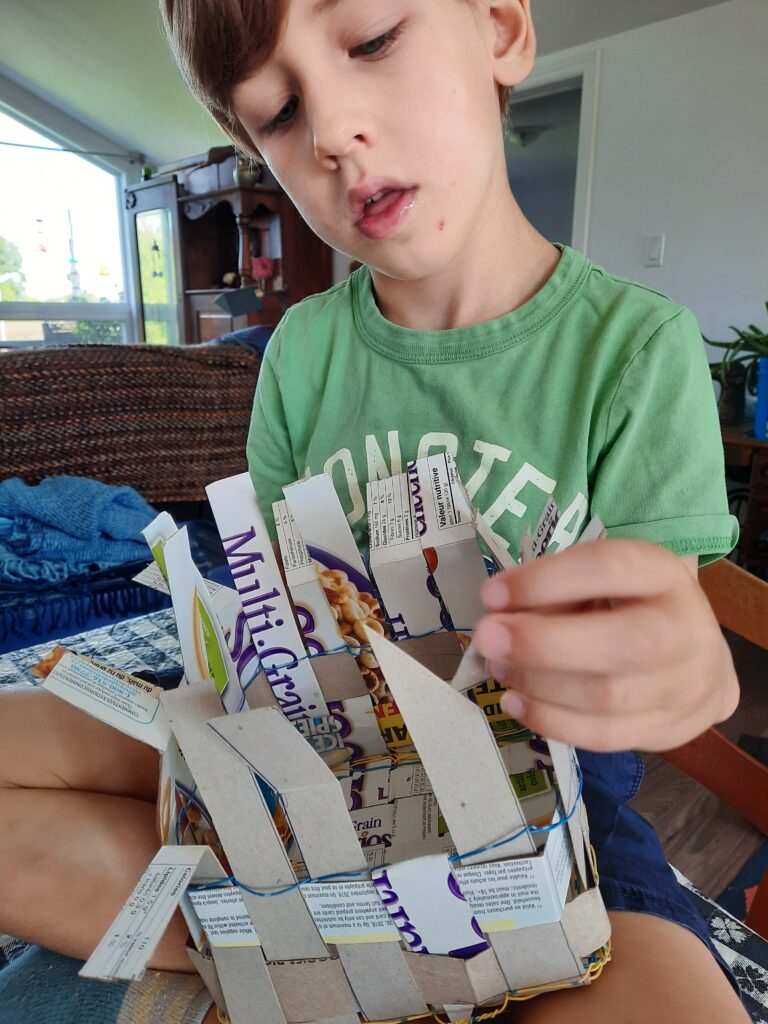
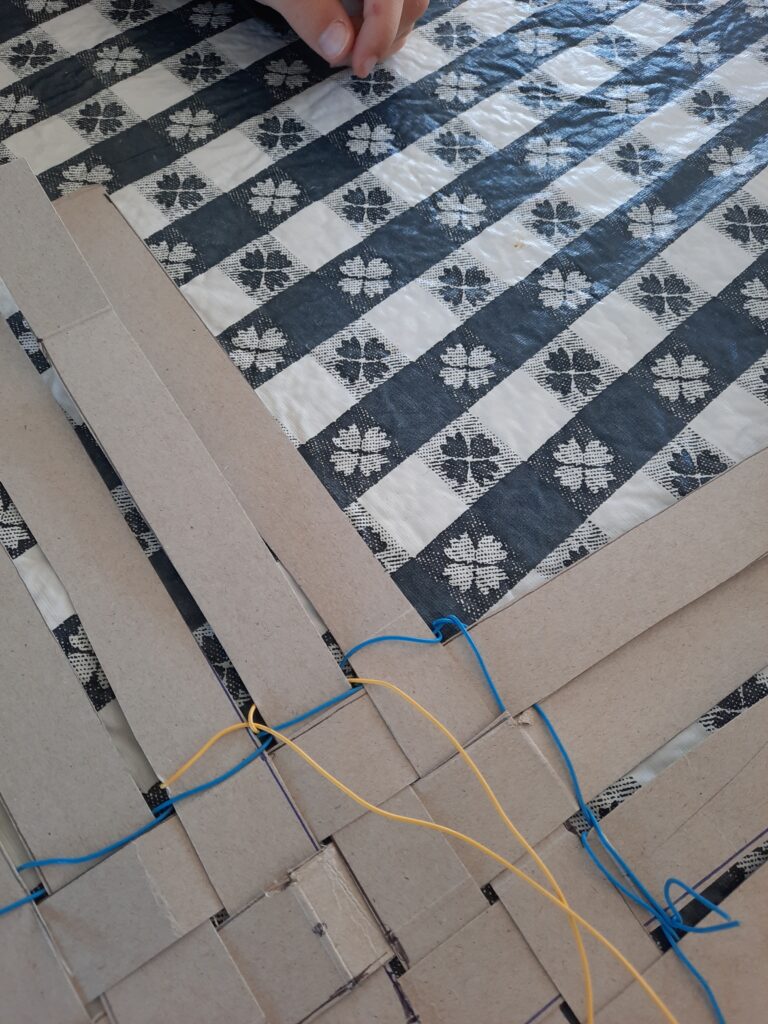
When you like the size of the base its time for what is called the “Upset”. Really not a traumatic process. Fold the pieces up to make 4 sides. This is when the softer flexible material is helpful to weave a tight few rows to keep the base all together. Twining is useful for this part but plain weaving can also work. Then its time to weave a strip along all 4 sides, folding at the corners and taping the ends. always start in the middle of a side and the next row, in the middle of a different side. You can add rows of twining or weaving with other materials in between cardboard rows if you want.
When the sides are as high as you want or as high as your pieces let you go, cut every piece on a slant. Weave these over the rim and the next one under the rim and then down that side if you want and VOILA! Your basket is complete.
